Hello Scrappy friends, I am so excited to announce that I am the November/December Guest Designer at Scrap Matrix - much excitement to be amongst such talented ladies
I must say a huge thank you to Vicki and the girls for making me feel so welcome.
I have a step by step process for you of the layout I created with the fabulous 7 Dots Dreamscapes kit I received for the November challenge. I have added some items – all available from the Scrap Matrix store so be sure to check out the supply list at the end of this novel, lol.

I began choosing the papers and diecuts, etc, that I wished to use and taking a dauber top I placed it on the Lindy’s Stamp Gang Starburst in Cocoa Bean Copper, and inked all the edges of the tags, diecuts and background paper. I also used this product to colour some of the string, which I had divided into strands to make it go further. I also added some of the Lindy’s to the 2 flowers from the kit. I had chosen a Steam Punk chipboard border and coloured this as well as a length of white mesh tape to finish off the embellishments for the layout.


Once I had all the bits coloured to my satisfaction, I took a Tim Holtz stencil - “Measured” and using Colour Blast Colour Paste, stenciled across the middle of the background as well as the top left and bottom right corners.


Whilst I was waiting for this to dry, I placed the mesh tape in position over the stenciling, and then double matted my black and white photo’s.
To give more texture to my layout, I tore the photo mats using my steel ruler, instead of cutting them. I like to look of straight cut edges mixed with torn edges.

I didn’t ink these edges.
Once the Colour Paste was dry (it really doesn’t take that long) I started assembling my layout, moving pieces around until I was happy with the result. I then started sticking everything down with my trust Xpress it Double sided tape and Helmars Acid Free glue.


Before placing the photos onto page, I added foam to the mats to lift them off the rather busy background.
Now came time for the title and finishing touches. I had some Chipboard Alphabets #1, and I used the Lindy’s to colour these, before adding Stampendous Embossing Ink and Embossing Enamel. Because the enamel is so thick you couldn’t see the colour under, so I splashed some Lindys over the top.


I added the title to my layout and finished with some 13 @rts Gold Glitter Ayeeda Ink, and some splatters of the Cocoa Bean Copper Starburst from Lindy’s, and finally some Vicki Boutin word and phrase stickers.
My finished layout:

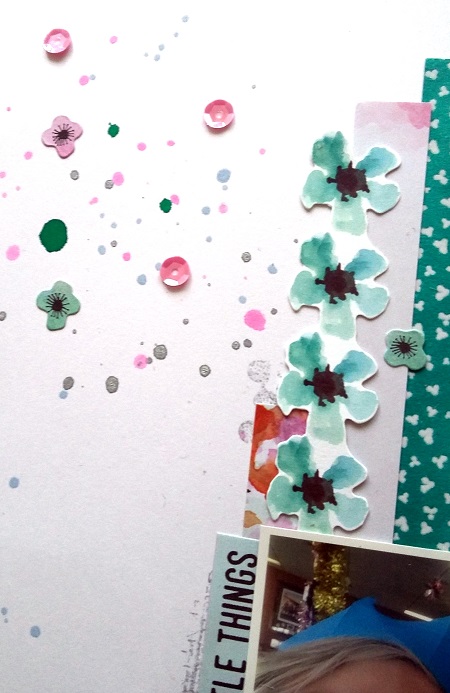
And some close-ups:


Supply list from Scrap Matrix:
Renaissance Black German Embossed Trims
7 Dots Dreamscapes Paper - Narwhal
7Dots Dreamscapes Paper - Sunrise
7Dots Dreamscapes Paper - Cloudy
7Dots Dreamscapes Paper - Twinkle
7Dots Dreamscapes Elements
Dreamscapes Tags 12x12
Cotton String
Prima Finnabair Sunrise/Sunset Flowers
I hope my layout has provided some inspiration.
I will be back later in the month with another layout xx
I will be back later in the month with another layout xx
Thank you so very much for stopping by today, please let me know what you think
Deb xx